How to Declutter a Laundry Room in One Afternoon
A fixed order of work and four boxes: clear the machine tops and floor, sort the laundry products, thin out accessories, remove what is not laundry and put back only what stays.

At a glance
What you need
- Four boxes or sturdy bags
- Tags or tape to mark each box
- Cleaning cloths
- Your usual surface cleaner
- Trash and recycling bags
- A stable step stool
A laundry room collects things quietly: a bottle bought for one stain, a basket with a cracked handle, a box of items that were on their way somewhere else. If you have been wondering how to declutter a laundry room without losing a whole weekend, the answer is a fixed order of work and four boxes.
The steps below fit into one afternoon for most rooms. They deal only with clearing out. Arranging what remains is a separate job, and it becomes much easier once the room holds less.
Before you start: four boxes
Set up four boxes, bags or marked areas of floor just outside the room, so they do not fill the space you are trying to empty:
- Stays here: things used for laundry, in good condition.
- Belongs elsewhere: things that have a home in another room.
- Donate: usable items you no longer need, such as spare baskets and hangers.
- Discard: worn-out items, and laundry products you will not use.
Choose a time when no load is running and the machines are cool. If you are not sure what earns a place in the first box, the guide to what to keep in a laundry room lists the usual candidates and the things better stored elsewhere.
Step 1: Clear the machine tops and the floor
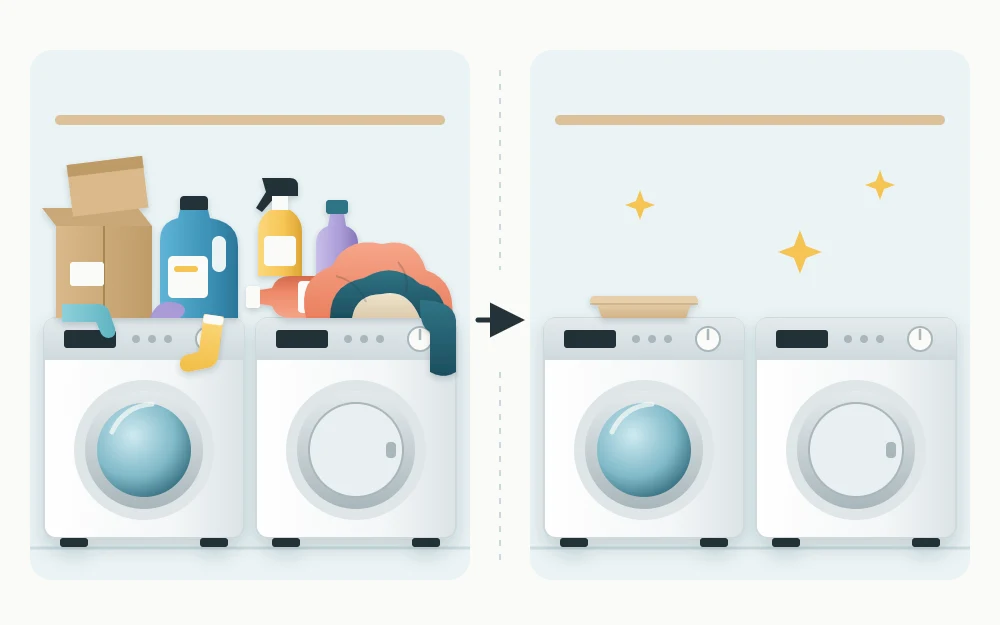
Work on a single surface or shelf at a time, and finish it before you touch the next. Start with the tops of the washer and dryer and with the floor, because these fill up first and block everything else.
Pick up each item once and put it straight into a box. Do not make a “decide later” pile; that pile is how the clutter got there. When the machine tops and the floor are empty, move to the counter, then the open shelves, then the cabinets, working from the top down.
Step 2: Sort the laundry products
Products need more care than anything else in the room. Line them up on the counter and go through them one by one.
- Keep what you use and what is in good condition, in its original labeled container with the cap closed.
- Set aside products you no longer want, containers that leak or are damaged, and anything with a missing or unreadable label. Without the label you cannot be sure what it is or how to use it.
- Group duplicates side by side, so the opened one gets used before the spare. Leave each in its own container.
Good to know
Do not pour products together, and do not tip two half-empty bottles into one container to save space, even when they look like the same product. Each product stays in its own packaging, with its own directions and warnings.
Step 3: Deal with the products you are not keeping
Unwanted products are not ordinary trash by default. Read the disposal directions on each label first. Then check what your local household waste program accepts and how it wants items delivered; many areas run collection days or drop-off sites for household chemicals.
For general background, see the U.S. Environmental Protection Agency’s page on household hazardous waste. Until you can take the items away, keep them upright, closed and out of reach of children and pets, apart from the box of ordinary discards.
Step 4: Thin out the accessories
Accessories multiply because they are cheap and never seem worth throwing out. Test, match and count them:
- Hangers: keep a sensible number in the room, and donate or recycle the bent and broken ones.
- Baskets and hampers: keep those that are whole and that you actually carry. A cracked basket snags clothes.
- Clothespins: discard any with weak springs or rough edges.
- Single socks: give them one small bin and a deadline. Whatever is still unmatched at the next clear-out goes.
- Cloths and rags: keep a small stack, and let the threadbare ones go.
- Mesh bags, lint rollers, dryer balls: keep the ones in working order.
Step 5: Remove what is not laundry
Now look at what is left and ask of each item whether it has anything to do with laundry or cleaning. If not, it leaves, unless this room is its official home, as it may be for a vacuum or pet supplies in a combined utility room.
These are the things that most often pile up:
- Clothes waiting for mending, donation or a return to a store
- Coins, receipts and small objects emptied from pockets
- Shopping bags, cardboard boxes and packaging
- Light bulbs, batteries, tools and half-finished repair jobs
- Paint, garden supplies and car-care items
- Sports gear, shoes and outdoor clothing
- Gift wrap, party supplies and seasonal decorations
Carry the “belongs elsewhere” box around the home right away and empty it. Put the donation box in the car.
Step 6: Wipe down, then put back only the keepers
With the shelves empty, wipe them, along with the counter, the machine tops and the floor edges where lint gathers. Use the cleaner you normally use, as its label directs. Take care not to disturb the hoses, valves or vent connection behind the machines.
Then return only the “stays here” box, grouped by zone: washing items near the washer, drying and ironing items together, products up high or in a latched cabinet. If the room needs a full layout, follow the step-by-step guide on how to organize a laundry room.
How to stop it filling up again
Two small habits keep the room clear.
One in, one out for products. Finish a product before opening its replacement, and hold only a spare or two as back-stock. A new kind of product earns a place only if an old one leaves.
A monthly five-minute check. While a load runs, clear the machine tops, empty the lint bin, return stray items to their rooms and look over the product shelf for leaks or loose caps.
If clutter keeps returning to the same spot, the layout may be the cause; the list of common laundry room organization mistakes can help you find it.
Frequently asked questions
How do I get rid of old laundry detergent and cleaning products?
Start with the disposal directions on the product label, then check what your local household waste program accepts. Many areas have drop-off sites or collection days. Keep each product in its own container while it waits, and do not pour different products together or into one bottle.
Where should I start when the laundry room is overwhelming?
Start with the tops of the washer and dryer and the floor. They are the most visible surfaces, clearing them gives you room to work, and the result shows straight away. Then move to the counter, the open shelves and finally the cabinets, finishing one surface before starting the next.
How often should a laundry room be decluttered?
A full clear-out once or twice a year suits most households, with a five-minute check each month in between. During the monthly check, clear the machine tops, empty the lint bin, return stray items to their rooms and look over the product shelf for leaks.
