How to Organize a Laundry Room: A Step-by-Step Plan
A nine-step order of work for a cluttered laundry room: empty, sort, wipe, plan the zones, measure, choose storage, put things back by reach, tag the shelves and set a short reset routine.
At a glance
What you need
- Three boxes or bags for sorting
- Damp cloth
- Tape measure
- Notepad and pen
- Bin tags or masking tape
- Stable step stool
A laundry room gets cluttered slowly: a bottle left on the dryer, a basket that never leaves, a shelf that fills with things from other rooms. If you are wondering how to organize a laundry room without losing a whole weekend to it, the answer is mostly about order. Do the steps in the right sequence and each one makes the next easier.
The plan below runs from an empty shelf to a short weekly reset. It works for a dedicated room, a closet or a corner of a utility room, and it asks you to buy nothing until step six.
The nine steps at a glance
- Empty the surfaces and shelves into one place.
- Sort what you find into three groups.
- Wipe down shelves and surfaces while they are empty.
- Decide which zones the room needs.
- Measure the free wall, floor and above-appliance space.
- Choose storage that fits those measurements.
- Put the most-used items between hip and eye level.
- Tag shelves and bins.
- Set a short reset routine.
Plan to do steps one to three in a single session, between loads and with the machines off. The rest can be spread over a few days.
Steps 1 to 3: empty, sort and wipe
Take everything off the machine tops, the shelves, the counter and the floor, and put it in one place. A hallway floor or a nearby table works. Seeing it all together is the point: you find the three half-used bottles of the same stain remover and the things that never belonged here at all.
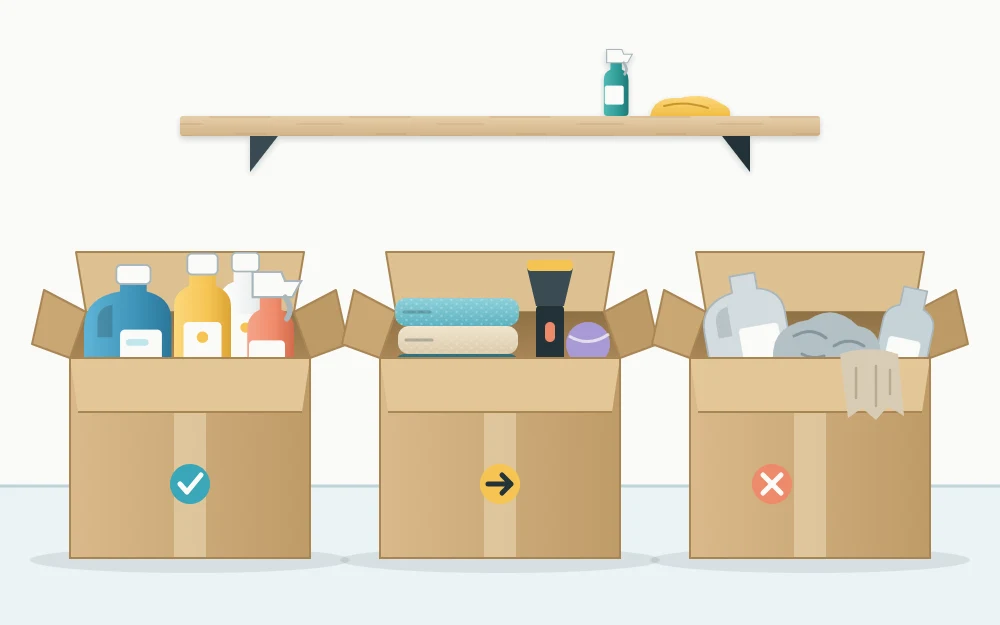
Then sort into three boxes or piles:
- Keep here: laundry products, accessories and anything used in this room most weeks.
- Belongs elsewhere: tools, toys, paperwork, spare towels for other rooms and general household overflow.
- Unwanted: empty bottles, worn-out rags, broken hangers and products you no longer use.
For unwanted laundry products, follow the disposal directions on the label and your local waste guidance. Everything you keep stays in its original labeled container with the cap closed, so the name, directions and warnings remain with the contents. If the keep-or-go decisions are the hard part, the guide to decluttering a laundry room walks through them one category at a time.
While the shelves are bare, wipe them with a damp cloth, along with the counter and the cabinet interiors. Lint and drips collect out of sight, and this is the one moment they are easy to reach.
Step 4: decide the zones
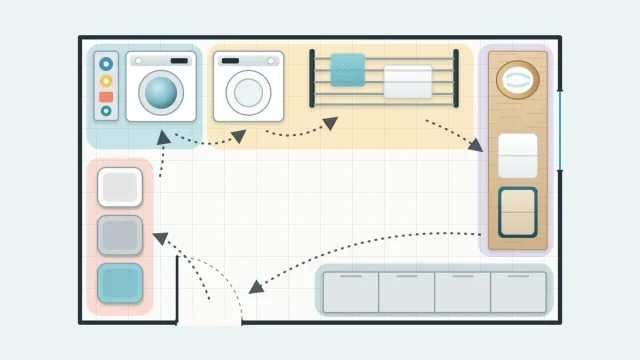
Before anything goes back, decide what the room has to do. Most laundry rooms need five zones: sorting, washing supplies, drying, folding and storage. Base them on how the room is actually used, not on how a showroom looks. If nobody irons here, the ironing board does not earn a prime spot. If dirty clothes always land by the door, that is where the hamper belongs.
A zone can be a full wall or a single hook. What matters is that each job has one home, arranged in roughly the order laundry moves through the room. The article on laundry room zones explains what each one needs and how they shrink in a tight space.
Steps 5 and 6: measure, then choose storage
Now measure. Note the width and height of each free stretch of wall, the open floor area and the space above the appliances. Write down where the room door swings, where the appliance doors open, and where the dryer vent connection, hoses, water shut-off valves and power connection sit.
Good to know
Nothing you add should block the dryer vent, the lint filter, the appliance doors or controls, or any space the appliance manual asks you to keep clear. Read the manual before you plan storage above, beside or on top of a machine.
Only then choose storage, and choose it to fit the numbers. Buying bins first is how a room ends up with containers too deep for the shelf and a cart too wide for its corner. Start with what you already own, list what is still missing, and shop for those pieces with the tape measure’s notes in hand.
For shelves, hooks and rails, look for the product’s stated load rating and follow its fixing instructions for your wall type, because liquids and wet laundry are heavy. Check for pipes and cables before drilling, since laundry walls often contain both, and ask a professional when unsure. The overview of laundry room storage ideas sorts the options by where they go in the room.
Step 7: put things back by reach
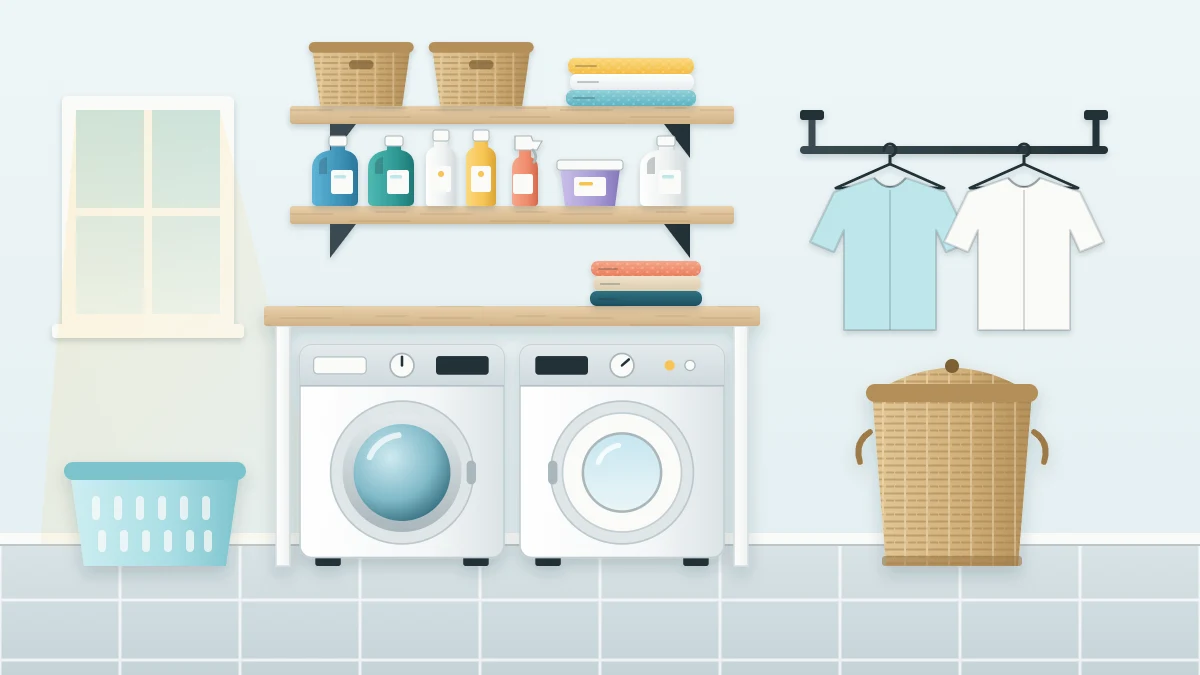
The items you use most go between hip and eye level, close to where they are used. The detergent in current use sits near the washer. Mesh bags and dryer balls sit near the dryer.
Back-stock and seasonal items go higher or farther away. Bins and trays hold the original containers, grouped by type, with the labels facing forward so you can read them at a glance.
One rule outranks convenience. In a home where children live or visit, or with pets, laundry products go up high or into a closed, latched cabinet, out of reach and out of sight, and they go back there right after each use. To reach a high shelf, use a stable step stool and never climb on a machine or a counter.
Step 8: tag shelves and bins
A tag on the shelf edge or the bin front tells everyone in the house where things go back, which is what keeps the system alive after the first week. Name the group in plain words: stain care, cloths, back-stock, lost socks.
These tags sit alongside the manufacturer’s label on each product and never replace it. Clip-on bin tags, a label maker or a strip of masking tape and a pen all do the job. Choose something you can change easily, because the first arrangement is rarely the final one.
Step 9: set a short reset routine
An organized room stays that way through small habits, not occasional overhauls. Pick a moment, such as after the last load of the week, and spend a few minutes on the same short list: products closed and put away, surfaces cleared, stray items returned to their rooms, the floor checked for dropped socks, and the lint filter cleaned as the dryer manual describes.
The laundry room maintenance routine sets out weekly, monthly and seasonal checks you can adapt.
Frequently asked questions
Where do I start when the laundry room is a mess?
Start by clearing every surface and shelf into one spot outside the room, then sort into three groups: stays here, belongs elsewhere and unwanted. Do not buy any storage yet. Once you can see what actually has to live in the room, the later decisions become much quicker.
Should I buy bins and baskets before I organize?
It is better to wait. Sort first, decide the zones and measure the free wall, floor and shelf space. Then choose containers that fit those measurements and the items you kept. Buying first often leaves you with bins that are the wrong depth or more containers than the room can hold.
How long does it take to organize a laundry room?
It depends on the size of the room and how much has collected there. Emptying, sorting and wiping can usually be done in one session between loads. Measuring, choosing storage and tagging shelves can follow over several days, which also gives you time to notice what works.