How to Set Up a Stain Treatment Station
Set up one small spot for stains: where to put it, a caddy that lifts out, what to stock, a waiting place for treated items and a few rules that keep it tidy and safe.

At a glance
What you need
- Handled caddy or lidded bin
- Your usual stain products in their own bottles
- Soft brush
- White cloths
- Spoon or dull scraper
- Small basin
- Clothespins or clips
Stains are easiest to deal with when everything you need is already in one place. A stain treatment station is simply that: a small, fixed spot with your stain products, a few tools and somewhere for the garment to wait, so a mark gets attention before it is forgotten in the hamper.
This is an organizing guide, not a stain-removal guide. Which product suits which stain, and how to use it, is for the product label and the garment’s care label to say. The job here is to arrange things so following them takes seconds.
Step 1: Pick the spot
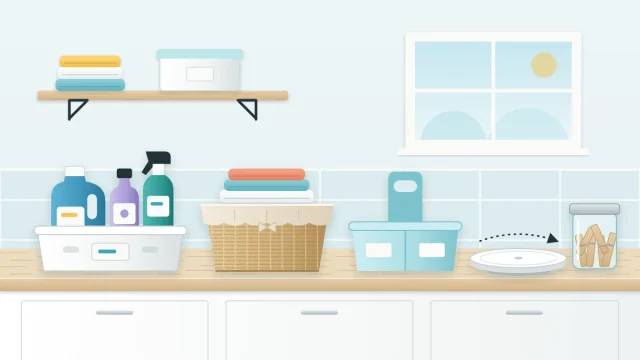
The best place is beside the utility sink, if the room has one, because treating a stain usually involves water and a surface that can get wet. Without a sink, use a section of counter near the washer, so the treated item has only a short trip to the machine.
The spot needs three things: a wipeable surface, good light so you can see the mark, and a little elbow room. If your room is divided into task areas, the station belongs in the washing area; the guide to laundry room zones shows how the areas fit together.
Before using the top of a washer or dryer as the work surface, check the appliance manual, and keep drips away from the controls.
Step 2: Choose a container that lifts out
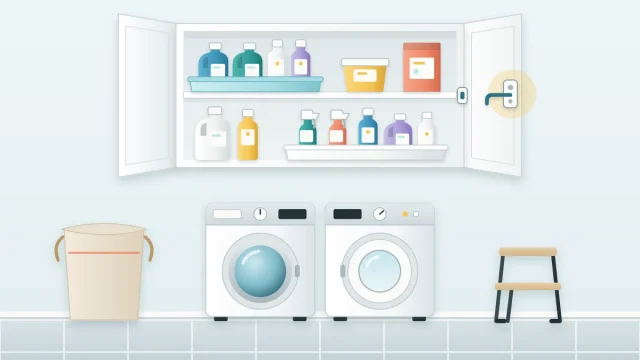
The station is a work spot plus a kit, and the kit does not live on the counter. Between uses it is stored up high or in a closed, latched cabinet, out of reach and out of sight of children and pets. So the container has to travel.
- A handled caddy is the simplest choice: one hand lifts everything down and puts it back.
- A lidded bin works if it lifts out easily and the lid comes off without a struggle.
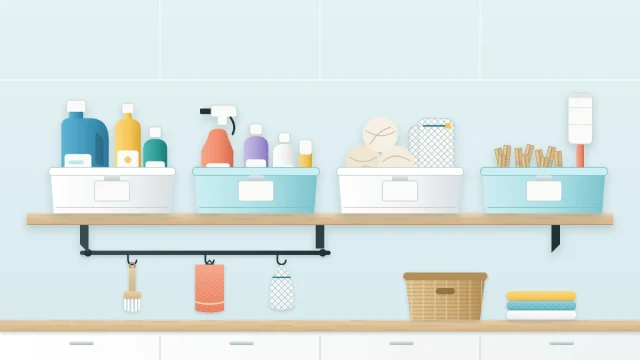
Either way, choose something wipeable, with sides high enough to keep bottles upright and a base that will hold a small drip. A caddy with dividers stops the tools from mingling with the bottles.
Step 3: Stock it
Stock the kit with the stain products you already use, each in its original labeled container. Do not transfer any of them into smaller or matching bottles; the name, directions and warnings need to stay with the product. One or two products are enough for most households, and a short lineup is easier to use well than a crowded one.
If you are choosing new products and want to understand one of the labels you may see on the shelf, the U.S. Environmental Protection Agency explains its Safer Choice label.
Then add the non-chemical tools:
- A soft brush, kept only for laundry.
- White cloths, so no dye transfers from the cloth to the garment.
- A spoon or dull scraper for lifting off solids.
- A small basin for the sink or counter.
- Clothespins or clips to mark where the stain is.

The basin may be too big for the caddy. Store it nested under the caddy or on the same shelf, so the two always come out together. The wider method for grouping products and accessories is in the guide on how to organize laundry supplies.
Step 4: Add a waiting spot
A stain that has been treated and then buried under other laundry is as good as untreated. Give items in progress a place of their own, right at the station:
- A hook on the wall for a garment on a hanger.
- A small basket or basin reserved for treated items, never used for anything else.
Clip a clothespin beside the mark before the garment goes to the waiting spot. When it is time to wash, you can find the stain again and check it before the item goes into the dryer.
It helps to catch stains before they reach the station at all. A separate small hamper or bag for stained items, as part of your laundry sorting system, keeps them from disappearing into the main pile.
Step 5: Make the labels part of the routine
Two labels decide what happens at the station, and neither is one you write yourself.
The garment care label tells you what the fabric can tolerate. The product label tells you which fabrics and stains the product is meant for, how to apply it and how long to leave it. Read both before treating. Product labels commonly advise testing on a hidden area first, such as an inside seam; do that whenever the label says so.
Tip
Good light makes labels and stains much easier to read. If the station is dim, a battery or plug-in light used as supplied, placed above the work spot, is a simple fix.
Step 6: Set the rules for the station
A station stays useful and safe only if the same few rules are followed every time. Keep them short enough to remember:
- One product at a time, used as its label directs.
- Never mix products, and do not apply a second product over a first unless a label specifically tells you how.
- Rinse the tools after use, including the brush, spoon and basin, and let them dry before they go back in the caddy.
- Close every cap firmly as soon as you finish with a bottle.
- Put the caddy away right after use, up high or in its latched cabinet. It never stays out on the counter.
- Wipe the surface so no residue is left where clean laundry will be folded.
Good to know
A latch or a high shelf is a help, not a promise that children cannot reach something. The habit that matters most is returning products to their place the moment you finish, with caps closed.
Keeping the station working
Because the kit is small, upkeep takes a minute. Once a month, lift the caddy down and look it over:
- Check each bottle for leaks, sticky caps and labels that are still readable.
- Replace cloths that are stained or worn, and wash the rest.
- Wipe out the caddy and the basin.
- Note what is running low, and buy a replacement before the bottle is empty, not three spares.
If a product has gone unused since the last check, it probably does not belong in the kit. Dispose of unwanted products as their labels direct, and let the caddy hold only what you reach for.
Frequently asked questions
Where should a stain treatment station go?
Beside the utility sink is ideal, because water and a wipeable surface are right there. If the room has no sink, use a section of counter near the washer. The kit itself is stored up high or in a closed, latched cabinet between uses and brought out only when needed.
What should I keep in a stain kit?
Keep the one or two stain products you already use, each in its original labeled container, plus simple tools: a soft brush, white cloths, a spoon or dull scraper, a small basin and a few clothespins to mark the stain. A handled caddy holds it all and lifts out in one go.
Can I keep stain remover out on the counter?
It is better not to. Stain products belong up high or in a closed, latched cabinet, out of reach and out of sight of children and pets, with caps closed. Bring the caddy out to treat a stain and return it as soon as you finish.