How to Organize Laundry Room Shelves So They Stay Tidy
Eight steps that turn a piled-up shelf into grouped, tagged bins: clear, group by task, assign shelves by reach and load, stand bottles so labels show, and reset weekly.
At a glance
What you need
- Tape measure
- Damp cloth
- Open bins that fit the shelf depth
- A tray with a low rim
- A shelf riser
- Clip-on bin tags or shelf-edge tags
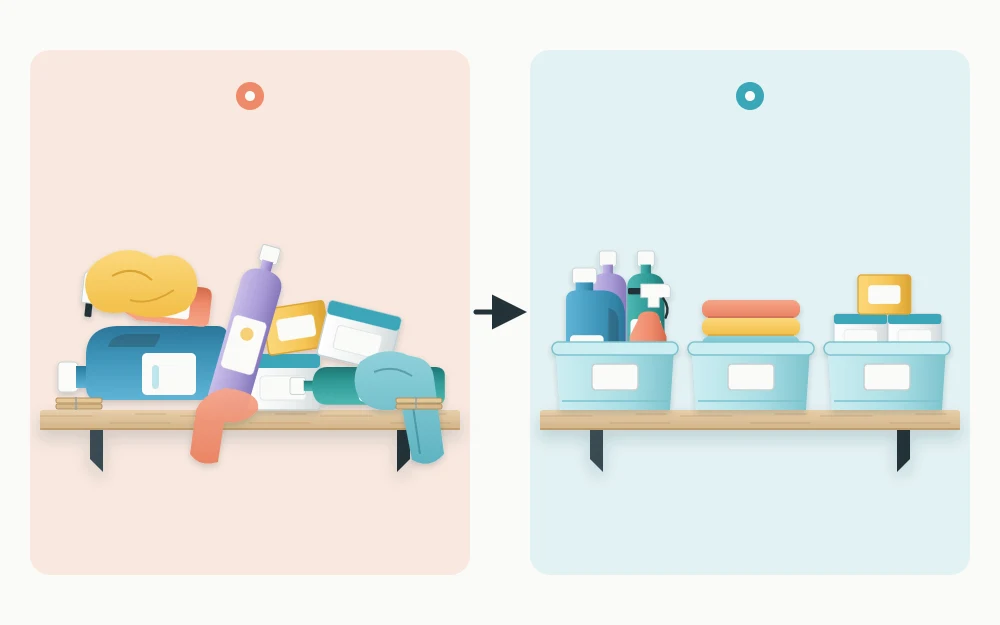
Shelves rarely get messy in one go. A bottle is put down sideways, a box is opened and left, a stack of cloths slides, and a month later the shelf is a pile with a front row. Tidying it puts things back in order for a week at most, because nothing about the shelf itself has changed.
If you want to know how to organize laundry room shelves so they stay that way, the answer is to give each shelf a job and each group of things a container with edges. The steps below do that in an afternoon, and a short weekly reset keeps it in place.
Step 1: Clear the shelves and wipe them
Take everything off, one shelf at a time, and set it on a surface children and pets cannot reach. Keep every product closed and upright while it is down. Then wipe the shelves: lint, dust and old drips build up under the things that never move.
While the shelves are empty, look at them. Check that brackets are firm and the boards sit level, and find the shelf’s stated load rating if you have the packaging or instructions. You will need it in step 3.
Step 2: Group what goes back by task
Sort what you took down by what it is used for, not by size or shape. Typical groups are everyday wash products, stain treatment, occasional products, back-stock, accessories such as dryer balls and mesh bags, and linens or cleaning cloths.
Anything that belongs to none of these, or to another room, leaves now. Shelves stay tidy when they hold one room’s worth of things. Products you no longer use are disposed of as their labels and local guidance direct.
Step 3: Assign each shelf by reach and by load
Now decide which group goes on which shelf. Two things settle it: how easily you reach the shelf, and how heavy the group is.
| Shelf position | What suits it |
|---|---|
| Between shoulder and eye level | Prime space: the things you use on every wash day |
| Above eye level | Back-stock and light, bulky items such as spare baskets or paper towels |
| Waist level and below | Heavy items, linens and empty baskets; laundry products only where children cannot reach them |
Heavy things go low on the unit and close to the brackets, never out at the unsupported end of a board. Liquids are heavier than they look, and a row of full bottles adds up quickly. Stay within the shelf’s stated load rating, and if you cannot find one, treat the shelf as light-duty and spread the bottles over more than one shelf.
In a home with children or pets, the low shelf rule changes. Laundry products go up high or into a closed, latched cabinet, and low open shelves hold only towels, baskets and non-hazardous accessories.
Good to know
Never overload a shelf. Check its stated load rating and the fixing instructions for your wall type, and use a stable step stool for the top shelf instead of climbing.
Step 4: Contain small and loose things
Anything small, soft or likely to roll goes into a bin or basket. The container gives the group an edge, so it cannot spread along the shelf, and it turns ten loose objects into one thing you lift down.
Measure the shelf depth before you choose. A bin should sit fully on the board, with nothing hanging over the front, and be shallow enough that you can see into it at the height where it lives. Open bins suit things you grab often; lidded baskets suit back-stock on a high shelf. The guide to laundry supply baskets covers sizes and materials.
Step 5: Stand bottles so each label can be read
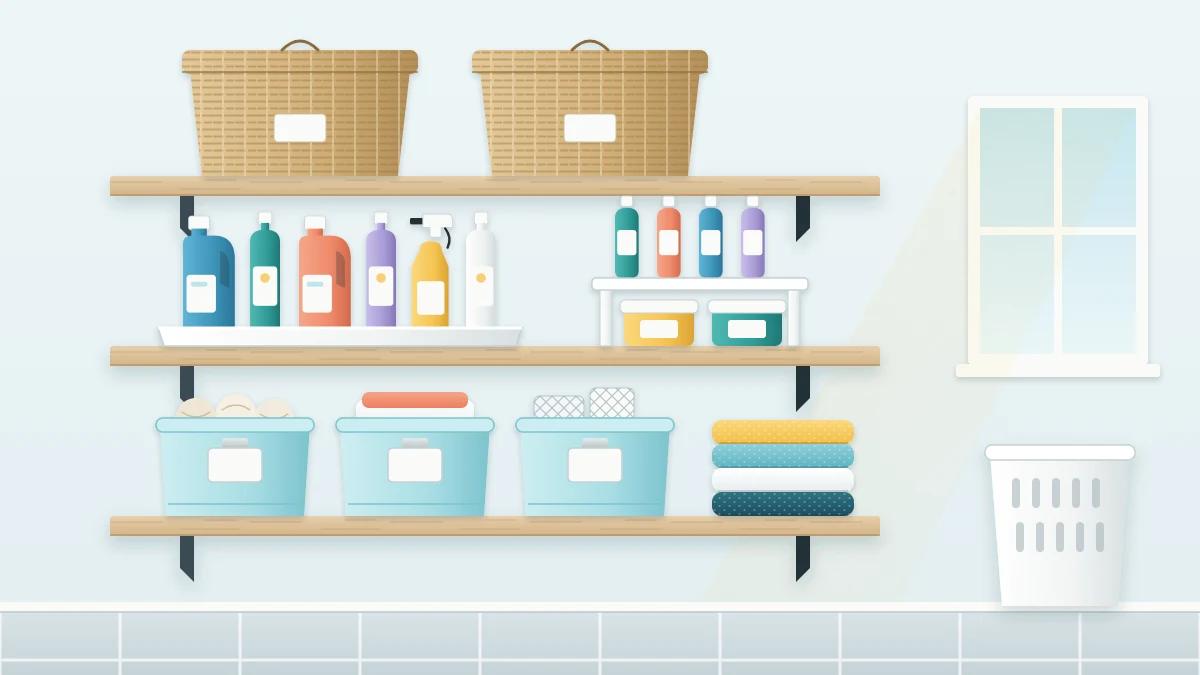
Laundry products stay in their original containers, upright, with the label facing forward. Arrange them in a single row. If the shelf is deep enough to need two rows, put the back row on a riser so its labels show over the front row.
Place a tray with a low rim under liquids. It catches drips, keeps the board clean and marks the boundary of the bottle area. For the placement of a large, heavy bottle, see the advice on laundry detergent storage.
Do not pour products into matching jars or decorative bottles for a neater look. The name, directions, warnings and emergency information all sit on the manufacturer’s label, and they stay behind when the product is moved. A tray and a straight row give you the tidy look without that risk.
Step 6: Leave empty space and add tags
Fill each shelf to about three-quarters and stop. The gap is not wasted: it is where the new bottle goes before the old one is finished, and it lets you lift a bin out without moving its neighbors. A shelf packed edge to edge has nowhere to put anything back, which is how piles start.
Then tag each bin or the shelf edge beneath it with the group name. A tag turns “somewhere on the shelf” into one exact spot and lets other people put things back correctly. The article on laundry room labels explains which kinds hold up in a damp, linty room.
Step 7: Style the shelves without losing function
Open shelves are on show, and it is reasonable to want them to look calm. Three restraints do most of the work:
- Repeat one or two container types. Four identical bins look ordered even when their contents do not.
- Keep to a narrow color range. Two or three related tones for bins, baskets and linens are enough.
- Limit decoration to one item per shelf. A plant or a framed print is fine; a row of ornaments is storage space given away.
The matching happens in the bins and trays, never in the products. Original containers in mixed shapes and colors look far quieter once they stand in a straight row on a tray.
Step 8: Reset once a week
Pick a fixed moment, such as while the last load of the week is running, and spend thirty seconds on the shelves:
- Stand up anything that has tipped and turn labels to the front.
- Return strays to their tagged bin.
- Take away empty containers and anything that belongs in another room.
- Wipe the tray if there is a drip.
Tip
If the same item keeps ending up in the wrong place, its home is too hard to reach. Move the home, not the habit.
Frequently asked questions
What should go on the top shelf in a laundry room?
Back-stock and light, bulky things you fetch rarely, such as spare paper towels or an empty basket. In homes with children, the top shelf is also a good place for laundry products in their original containers. Use a stable step stool to reach it, and keep heavy liquids within the shelf's stated load rating.
How do I make laundry shelves look neat without matching bottles?
Match the bins and trays, not the products. Stand the original containers upright in one row on a tray with labels forward, repeat one or two bin types, and keep colors within a narrow range. Leaving part of each shelf empty does more for a calm look than any container.
How full should a laundry room shelf be?
About three-quarters full is a useful aim. The free space gives you somewhere to set a new bottle and room to lift bins out without shifting everything else. Whatever the amount, the total load should stay within the rating the shelf maker states.